Drawing a Mandala: 3 Steps You Should Know

draw your mandala

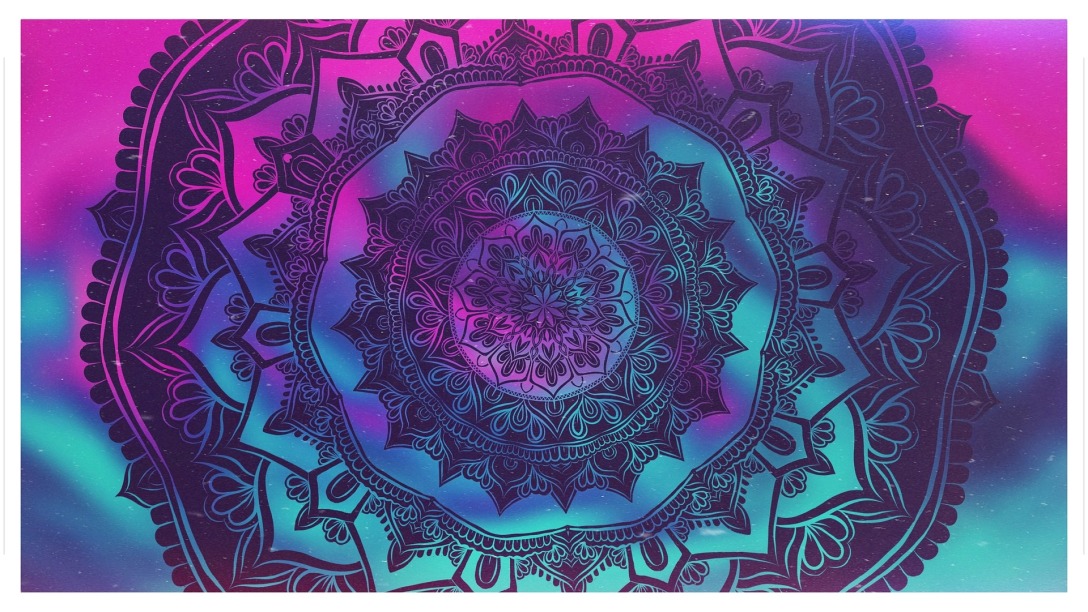
Mandala drawings are circular designs with different geometric patterns. Three simple ways to draw your mandala are listed below:

  • Create a structure: Start by selecting a center point in the middle of the paper. Then use a compass and start drawing circles around the center point. Then use a pencil and draw axes across the circle. If you want your mandala to look less symmetrical, organic you can skip this steps.
  • Drawing your design: Draw rings around the center point. The rings can be triangles, flower petals, or any other shapes. Draw the shapes touching the first circle to make sure they are of the same size.
  • Finishing up your mandala: Trace your design with a pen to create visual interest and depth to your drawing. Add more details if required, and then remove any unwanted pencil drawings.

Finally, you can give color and make your mandala drawing look beautiful.

Drawing textures using pencil: What You Need To Know

The smoothness or roughness of a surface is called texture. The type and amount of texture determine how much light reflects off it.

A hard and smooth surface like metal or glass reflects all the light. As a result, it creates sharp, crisp edges and contrasting highlights and shadows.

A soft surface like cloth, absorb the light, and create smooth transitions between light and dark values.

On a rough surface, the light hits only less area, which creates a softer range of highlights and shadows. Ridges on the surface catch all the light creating dark shadows.

Here are some tips to draw common textures.

Clouds appear in the smooth sky. First, lightly crosshatch with a pencil. Blend smooth with the cotton to create the sky. Erase out the sky with the white eraser to form clouds.

The water surface is reflective with ripples on it. Use a side-to-side rocking motion to draw this. Small parallel gaps between the lines act as the reflection in the water.

To draw foliage, work in layers. Scribble random lines to create the leaves. Draw the branches that are not hidden. Then add more layers. Use an eraser to lift off highlights.

Keep these tips in mind before you draw your next picture.

Tips for painting from your imagination

Draw from imagination

Wouldn’t it be cool if you could draw whatever you want without any reference? But it is generally observed that artists find it hard to do so. Here are some tips that will let your imagination come to life through your paintings. 

Don’t copy: First, don’t even copy the reference as it is. Use it only to get an idea about the different perspectives, scales, and proportions. 

Use your favorite medium: When you already find it hard to draw from imagination, using an unfamiliar medium will only make it harder.

Break down the image: Learn to break down the image into basic shapes. Trace these shapes onto paper proportionately and combine them to form the final artwork.

Make a reference sheet: Use reference images, study the various perspectives thoroughly, and make a detailed drawing sheet of all these perspectives from your memory for later use. But ensure that you don’t rely on the reference sheet to draw every time.

Improve your imagination by improving creativity. Do this by using active memory to retain almost every detail in your mental imagery. Even though the process of drawing from imagination is not easy, continuous practice can help you achieve this goal.

5 Tips Of Acrylic Painting for Beginners

Acrylic paints are a fast-drying paints that are being used by artists since the 1960s. They are much easier to use than oil paints and is an ideal option for beginners. If you understand the 5 simple tips of acrylic paint, you can master the art in no time.

The most important 5 tips for beginners of Acrylic Painting are:

  • Be Decisive with strokes: The acrylic paint dries extremely fast. Therefore, you don’t get much time to work with acrylics. 
  • Mixing Colours: The mixing of colours is the most important aspect of this painting. Make use of the palette to experiment colours while mixing and not your canvas.
  • Paint darkens as it dries: This is one issue all artists usually face. The lighter shades tend to darken as they dry. Hence, it is advised to allow a slight darkening of the mixed colours.
  • Upsize the Brush: Use a larger brush to paint as it will help you to think about the strokes and fill the canvas easily.
  • Painting materials: Your paint brush will get spoiled if you don’t clean them properly after each time you use them.

Follow a few tricks and begin your experiment with acrylic painting.

Surrealism: Basics You Should Know

Surrealism has been one of the most popular branches of art, and it is so because of the sheer strangeness of this style. In surrealist art, nothing is bound by the laws of reality, even though the images are realistic. Here are some ways to help you get your way through surrealism.

Find objects that interest you and connect them: The connection has to be so irrational that it should shake anyone who stumbles upon it.

Get inspired: Inspect works of great masters like Dalì and Magritte to understand how to blend all your ideas. These pioneers of the style have created innumerable surrealistic masterpieces.

Keep the initial sketch as simple as possible: Work in layers and add more layers as you start adding more details.

Lighting: Lighting and composition are just as crucial in surrealism as it is realism. Identify the light source and adjust the shadows and highlights and mid-tones accordingly.

Ultimately, all you need to draw surrealism is the ideas in your head. Give life to absurd ideas and ditch all the rules of art with this style.

Digital Art: What You Need to Know

digital art

The never-ending debate that digital art is not “art” has been on the rise recently.

Just like traditional art, there are different types of digital art. There is vector art, 2D digital art, 3D digital art, pixel art, and much more. The difficulty in both art essentially depends on the type of drawing.

One major difference is the presence of the undo button in digital art, which makes clearing your mistakes in the digital medium a lot easier than the traditional medium. You can go back and forth without making your work a mess.

The flexibility of working in layers in the digital medium gives you the liberty to actively make mistakes and correct them. This freedom, however, is limited in traditional art which makes it a lot more rigid when compared to digital art.

However, the textures in traditional art are almost too hard to achieve with digital art. Also, the hand control required for digital art is much more when compared to traditional art. 

Degrading a form of art just because it looks easier is pointless. It’s always advisable to be open to experiments and suggestions before choosing mediums that work the best for you.

5 Tips for drawing cloth folds and wrinkles

cloth folds and wrinkles

Clothing is hard to draw as it has a number of odd folds and wrinkles. It can take random shapes depending on the form on which it falls. So, a few factors are to be kept in your mind while drawing clothes.

The material of clothing: Thicker material and thinner materials results in lesser folds and more folds respectively. Stiff material clothing would have triangular folds, whereas softer material produces rounded folds.

Cut and fitting of clothing: Loose fitting clothes are influenced by gravity. Tight cut clothes, however, wrap around the form.

Movement of the subject: When in rest, the shape of drapes depends on gravity. But during motion, folds are influenced by the direction of the force and external factors like wind and rain.

Pulling point, or point of tension: Folds are mainly formed due to points of tension. These are mostly joints of the human body, like shoulders, elbows, knees among others.

Shadows and highlights: Depending on the direction of light and the type of material, the reflection of light varies. Smoother clothes have brighter highlights.

Follow the above steps to visualize the cloth folds and wrinkles in your imagination and give life to them.